

To securely fasten wire ropes, understanding how to use wire rope sleeves and stops is essential. A ferrule and stop provide reliable connections, making it crucial to know how to use a ferrule and stop effectively. Learn step-by-step how to install a ferrule and stop to ensure safety and durability in your wire rope applications.
Wire rope is often used when something needs strong support or restraint; therefore, proper fastening techniques must also be employed to ensure the assembly doesn't fail under load. Installing a ferrule and end stop — using a process called swaging — is one of the best methods to accomplish this task for light-duty projects. The swaged connection will exceed the rated breaking strength of the wire rope or cable when properly applied. Available in a variety of materials, ferrules and stops can be purchased separately or in convenient kits complete with specifications and the appropriate number of required components for selected applications.
Whether you're securing cables for rigging or construction, knowing how to install a wire rope ferrule and end stop set ensures durability. Here's a quick instruction on how to use a wire rope ferrule and end stop set. This process ensures that your wire rope is secure and reliable for various applications. By mastering how to install a wire rope ferrule and end stop set, you ensure long-lasting strength for your projects.
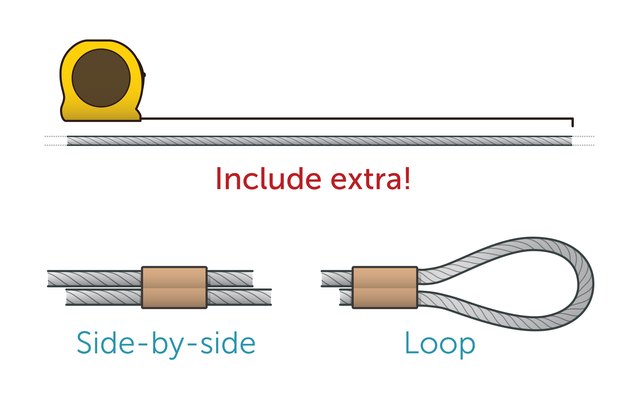
Determine the amount of wire rope needed for the project at hand. Include extra length for the intended application of the ferrule and stop. More rope is usually required for a side-by-side splice than for a small end loop. This step is crucial when learning how to use a ferrule and stop set correctly, ensuring you have enough material to complete the assembly.
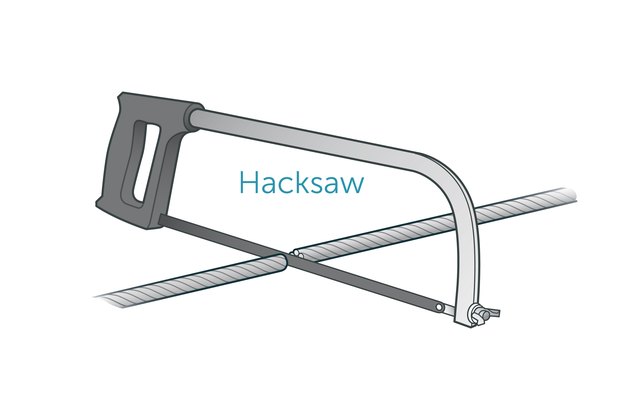
To properly install wire rope sleeves and stops, start by cutting the wire rope to the correct size using a cable cutter or a fine hacksaw blade. Knowing how to use wire rope sleeves and stops begins with clean, compact cuts to maintain the rope's integrity. Proper cutting is also crucial when learning how to use a ferrule and stop set, as it prevents fraying and ensures a secure fit. Follow these steps to understand how to install a ferrule and stop effectively for long-lasting results.
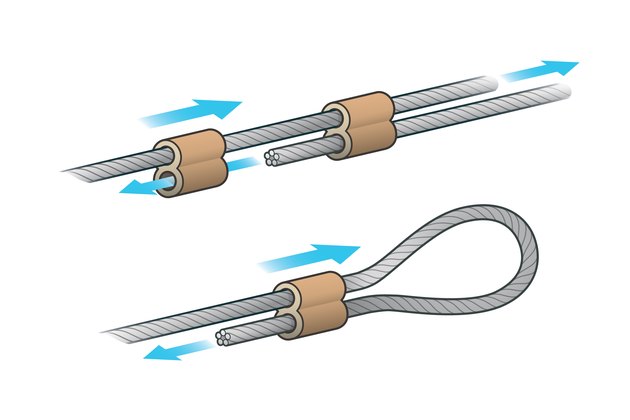
Slide the required number of ferrules onto the wire rope. For a splice, place the ferrules in a row with the ends of the two ropes passing through them in opposite directions. For a loop, pass the end of the rope back through the remaining openings in the ferrules, forming the appropriately sized loop. This is an important step in understanding how to install a ferrule and stop for various applications, such as splicing or creating loops.
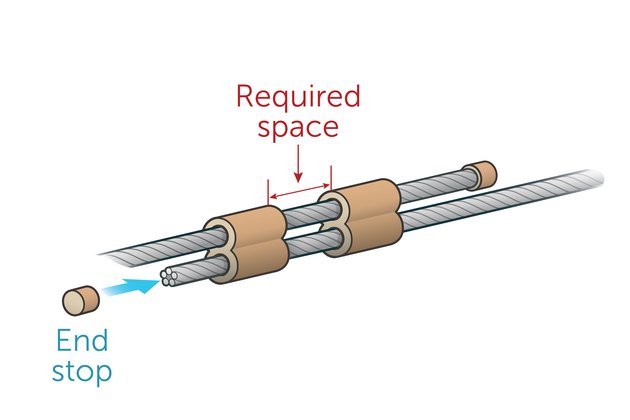
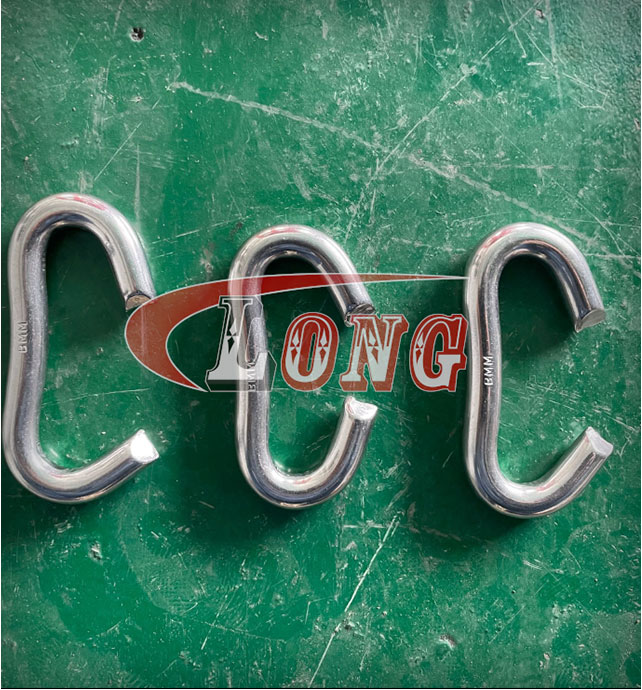
When learning how to use wire rope sleeves and stops, carefully arrange the assembly for swaging since the connection will be permanent. Ensure there is enough space between ferrules and leave adequate rope protruding from the last ferrule for the end stops. Understanding how to use a ferrule and stop set includes placing a stop on each cut end of the wire rope to prevent unraveling. Properly following these steps ensures a secure and lasting installation when learning how to install a ferrule and stop.
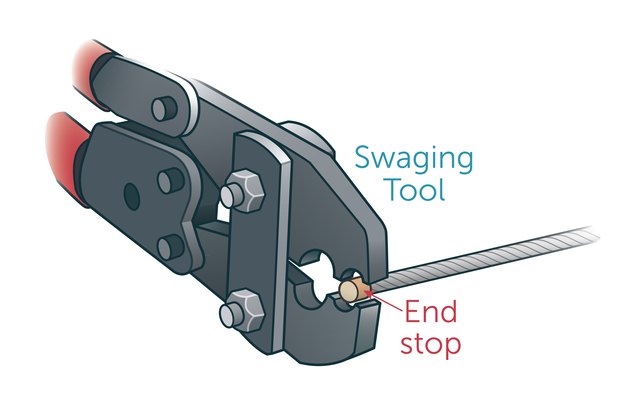
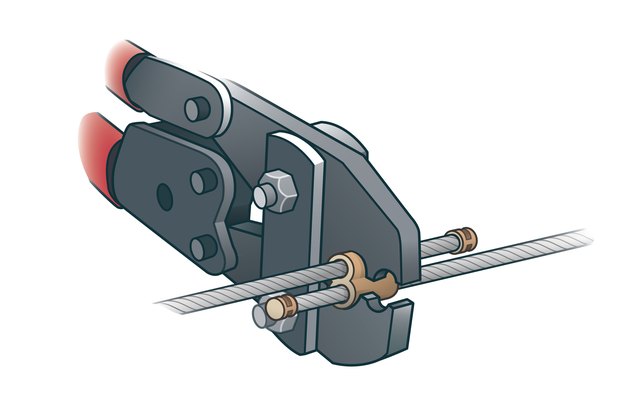
Begin assembly with an end stop. Place the fitting between the jaws of the swaging tool and compress it firmly onto the wire rope. Swaging is the act of permanently attaching sleeves and fittings to wire rope. The swaging tool is a cold metal press that allows you to crimp ferrules and other attachments onto the cable. One swage, or crimp, is usually sufficient for smaller fittings. This is a key part of how to use ferrule and stop set effectively, ensuring that the attachment is secure.
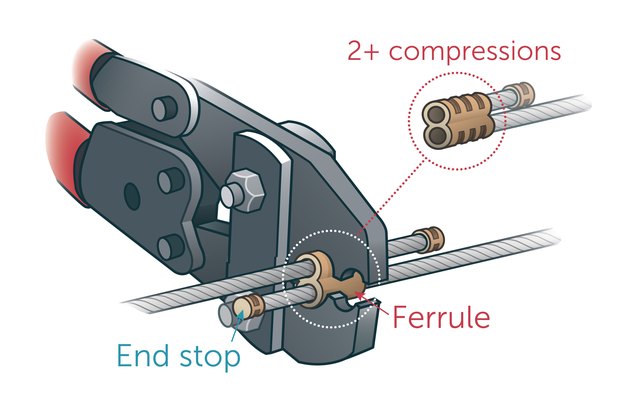
Swage the ferrules by starting at one end and compressing the oval-shaped fitting sideways between the jaws. Use enough force to create a deep indentation. Wire rope ferrules require two or more of these compressions per fitting, depending on the application. This is a critical step in how to crimp a ferrule and stop, making sure that the ferrules are firmly secured to the wire rope.
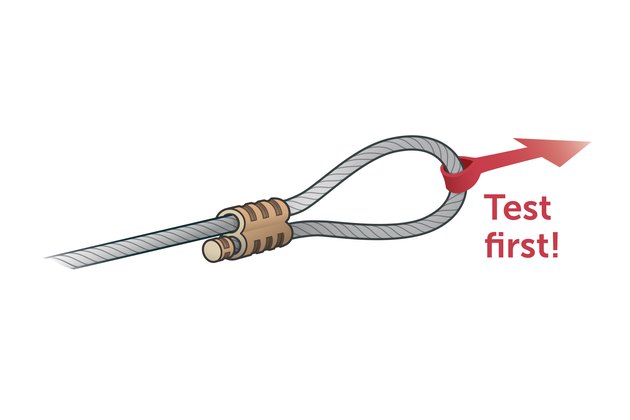
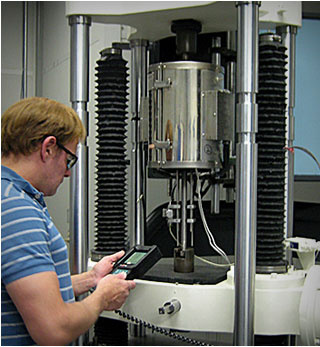
Test the strength of the completed assembly before putting it into service to ensure all fasteners are installed correctly and that it safely performs its intended purpose. Testing is essential when using any wire rope ferrule and stop to guarantee the safety and reliability of the installation. Always follow the ferrule and stop instructions to avoid failure under load.
When installing cables or wires, knowing how to use a ferrule and a stop set correctly ensures a secure connection. Understanding how to use a ferrule and stop can enhance the durability of your projects. Before starting your project, review the ferrule and stop instructions to ensure proper assembly. Many beginners find it helpful to learn how to use a ferrule and a stop set before starting their sewing projects. Follow these instructions on how to use a wire rope ferrule and end stop set to ensure a professional finish.
By mastering how to use a ferrule and a stop set, you enhance durability and safety in wiring projects. LG RIGGING®, a reliable rigging hardware manufacturer, provides high-quality components, allowing you to confidently install wire ferrules and stop sets for a variety of light-duty projects. Our brand offers a wide selection of ferrules and stop kits, complete with the necessary tools and specifications for each application. Trust our expertise and quality products to keep your projects safe and reliable.


